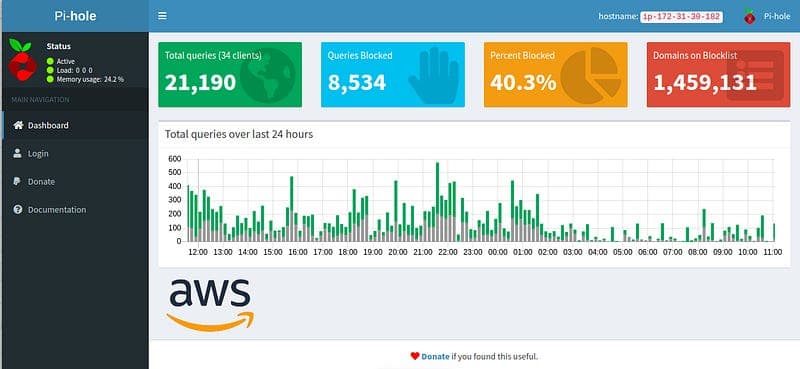
Private DNS on AWS using Pi-hole
Pi-hole is an open-source application that serves as a DNS sinkhole that blocks advertisements. It uses publicly available lists to block queries from common ad domains making them unavailable on the website that you are looking at. Because it’s blocking queries to those servers the performance of the network increases due to not waiting to fetch a resource. Another bonus is that you can block sites that you don’t want to be accessed in your network.
The ideal scenario for Pi-hole is to set up a Raspberry-pi on your local network, Install pi-hole on it and use it as a DNS. But here I will show you how you can set up a pi-hole on an AWS EC2 instance (free tier).
NOTE: Pi-hole will not block ads on YouTube, Facebook, Twitch, etc as they stream Content and ads from the same server
Steps to Setup Pi-hole
Step 1. Login to your AWS Management Console, Go to EC2 instances, and click on Launch Instance

Step 2. Choose Ubuntu 20.4 as your AMI.

Step 3. Choose t2.micro (free tier) for instance type and click Review and Launch.

Step 4. Select a key pair for your instance. If you don’t have a key pair then create a new pair and Launch Instance.

Step 6. Connect/SSH to your Instance
Go to your AWS Console, Select your Instance → Actions → Connect, On the next page Select EC2 Instance Connect and click on Connect.


You can also SSH to your instance using PuTTY.
Step 7. Install Pi-hole
Use the following command for One-step Automated Install
curl -sSL https://install.pi-hole.net | bash

After running this command Pi-hole will be automatically installed in few seconds, after installation a configuration interface will appear.
Step 8. Configure Pi-hole
Choose Your Preferred DNS

*I personally prefer Cloudflare but you can choose Google or any other of your choice
*Leave the rest of the settings to default.
Step 9. Set Password for Web Interface
Run the following Command to Set a new password
sudo pihole -a -p
Configure devices to use Pi-hole as your DNS
Go to your AWS Console and copy your instance Public IP address
Go to your Router Settings and change your DNS IP address to the IP address of your Instance
Some routers don't have a DNS setting in that case you have to change your DHCP server IP address to your instance IP address
If you don’t have a router or you are not on your home network, you can just go to your device’s network settings and just change your DNS IP address to the IP address of your instance.
For android devices, you have to install the DNS Changer app (No ads) to Use your Pi-hole as your DNS. (only when you are not on your home network or you are using mobile data)
NOTE: Make sure to add 8.8.8.8 or 1.1.1.1 as your Secondary DNS, Just in case if your instance crashes or something else happens, you still be able to access the internet without any problem.
How to access Pi-hole Web Interface?
Go to “your.instance.ip.address/admin”
Example - 1.2.3.4/admin
Pro Tips
Pi-hole is advertised as an adblocker but you can add more “Adlist” to block tackers and malicious Websites.
If you want to make your connection more secure and private, you can just fire up another EC2 instance with an OpenVPN or Wireguard and just set up your Pi-hole instance to only listen to your VPN instance.
You can install few python scripts on your instance to block ads on youtube or on any other streaming services.
If you find any difficulty in any step or you face any problem just leave a comment here, I’ll try my best to solve your problem
If you find this helpful please consider clapping and following me on Twitter :)